Horizon 7.11 Deployment – Part 4: Deploying & Configuring Unified Access Gateway Appliance
Hi readers,
In this part of the series, we will be deploying the VMware Horizon Unitied Access Gateway Appliance. It’s similar to the old Horizon Security server, and I myself mainly use it so I can connect to my Horizon connection server from a public IP address. (from my /24 block)
First what we do is download and deploy the UAG OVA template. In my set-up, a normal deployment will suffice and two NICs are enough. One is for the internal LAN, and one is for the external network.

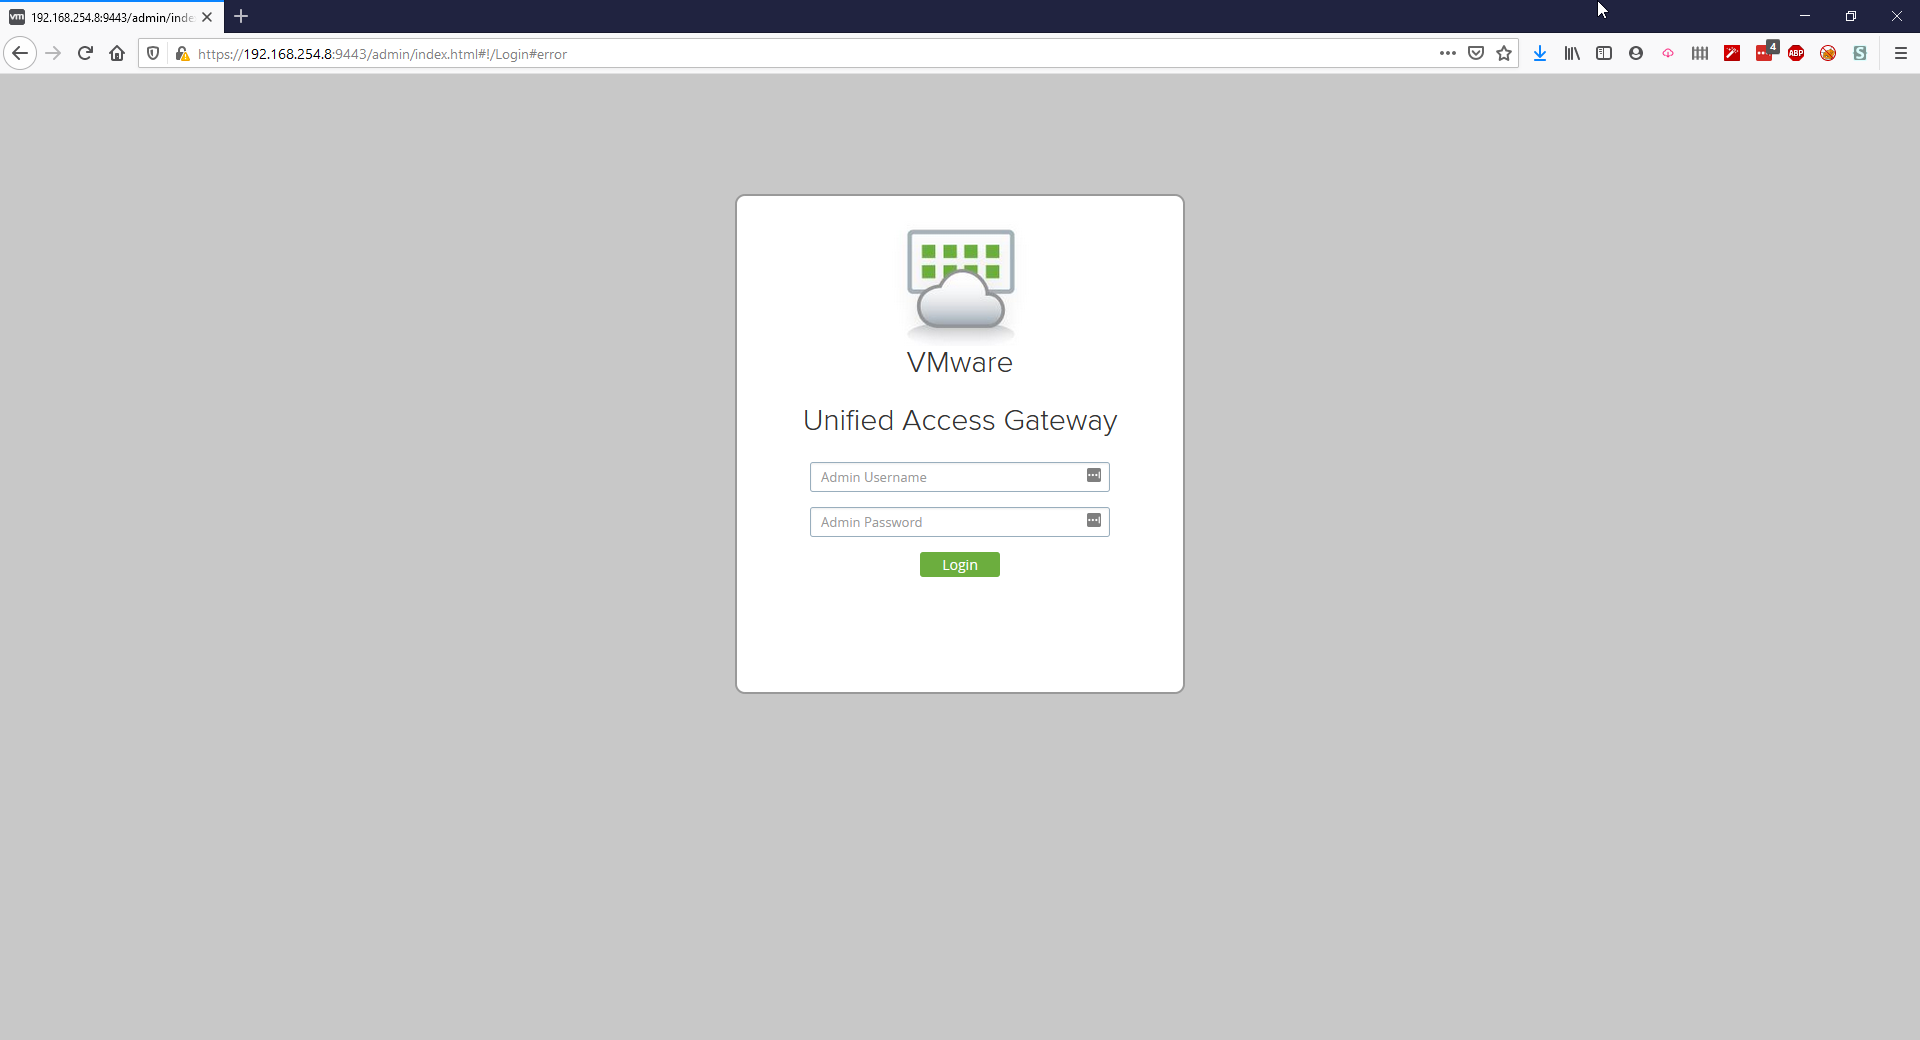
Continue to go through the steps and turn the VM on, then after a while browse to the IP of the appliance on port 9443 followed by logging in with the admin account and password you provided during installation.
When we log in we get a screen, on this screen we click on select under manual.
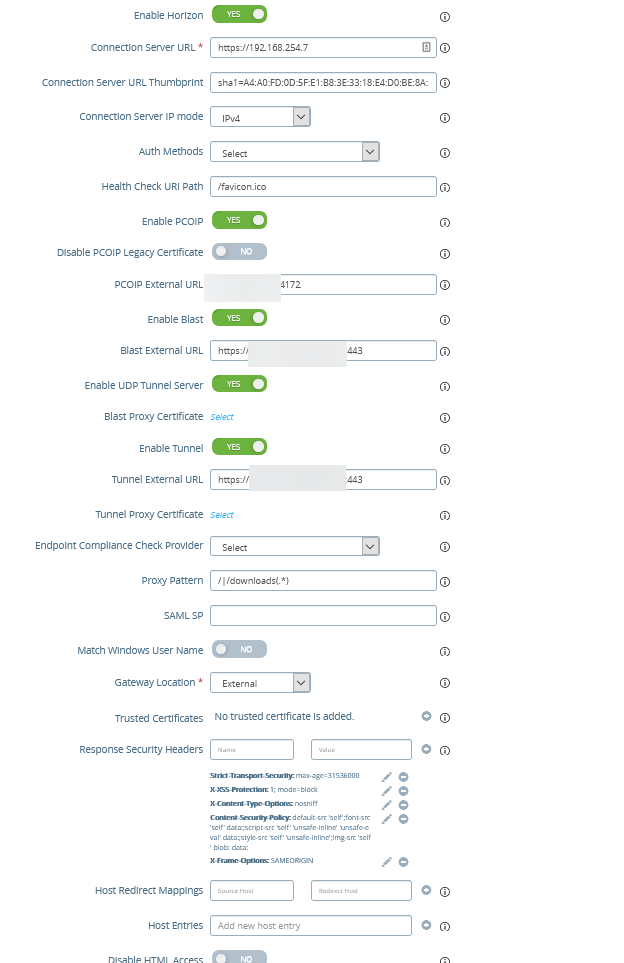
Enable “Edge Service Settings” and click on the gear at Horizon Settings, then enable Horizon and copy the settings below. PCOIP URL should be the public IP address of the UAG. Blast and Tunnel External URL should be the public FQDN of the UAG.
Next we log into the Connection Server. Click on Servers under Settings and then click on Connection Servers. Click on your Connection Server and then edit.
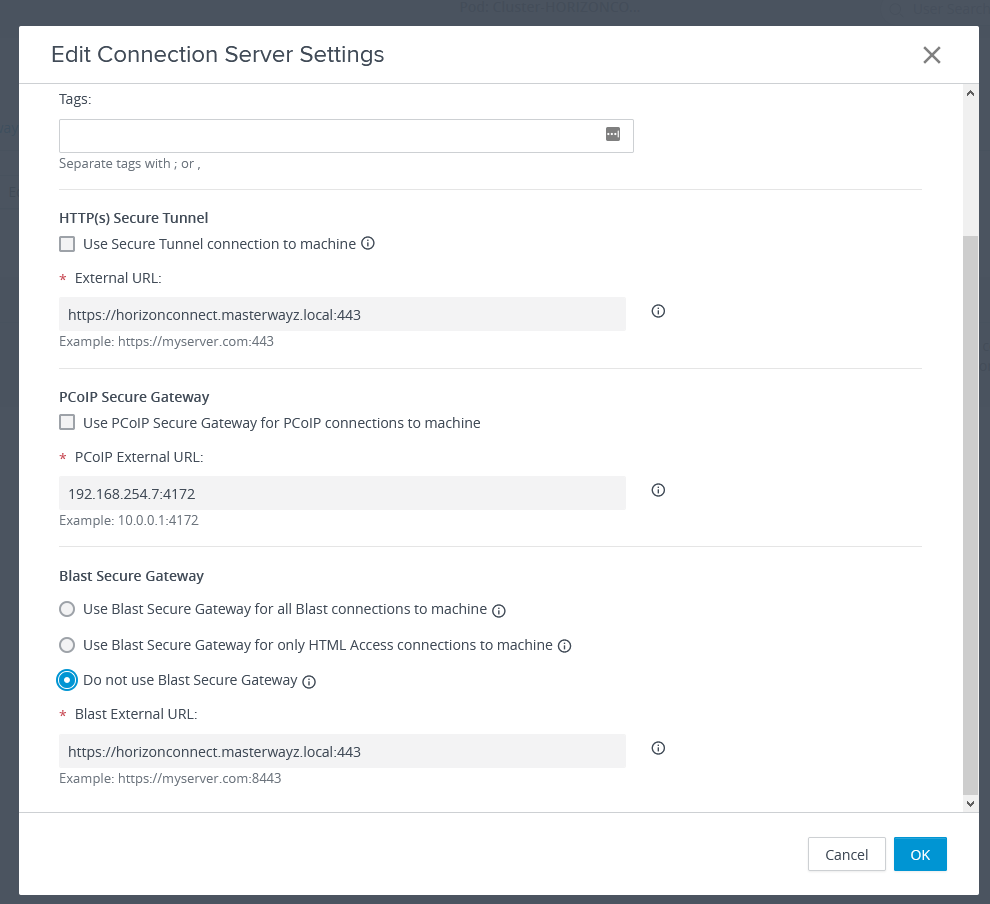
We want to disable Secure Tunnel, PCoIP Secure Gateway and Blast Secure Gateway, as our UAG will handling doing this.
We can also let the UAG appear under gateways in the dashboard. To do this, we log into the UAG and click on select under manual again (if you have logged out already). Then we click on the gear at System Configuration under Advanced Settings. Change the UAG name to something friendly. We will need it later.
Back to the Horizon 7 Console, we expand Settings and then click on Servers. Click on Gateway and click Register. In here, fill in the friendly name you gave the UAG in the previous step.
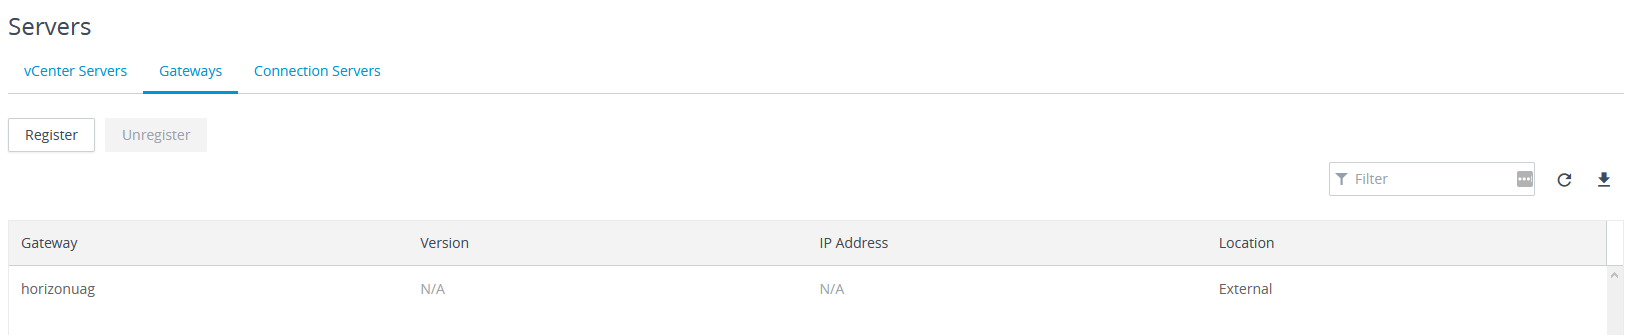
Now the UAG shows in the dashboard.
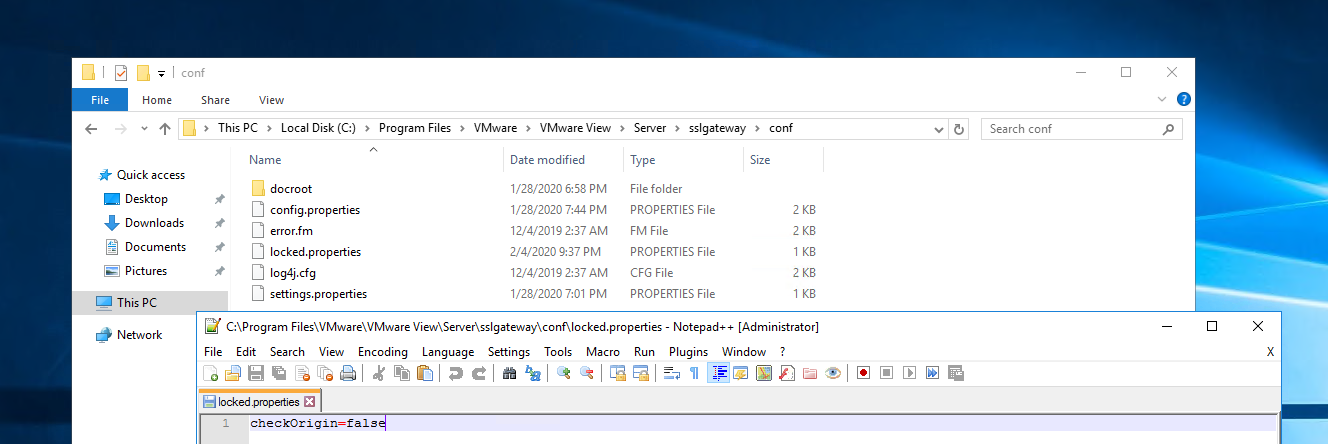
In order the access the HTML UI through the UAG, we need to either disable Origin Checks on the Connection Server, or configure the Connection Server’s locked.properties with the UAG addresses. You only have to do one of them, but both is followed by restarting the “VMware Horizon View Connection Server” service. (Disable origin checks is showed below.)
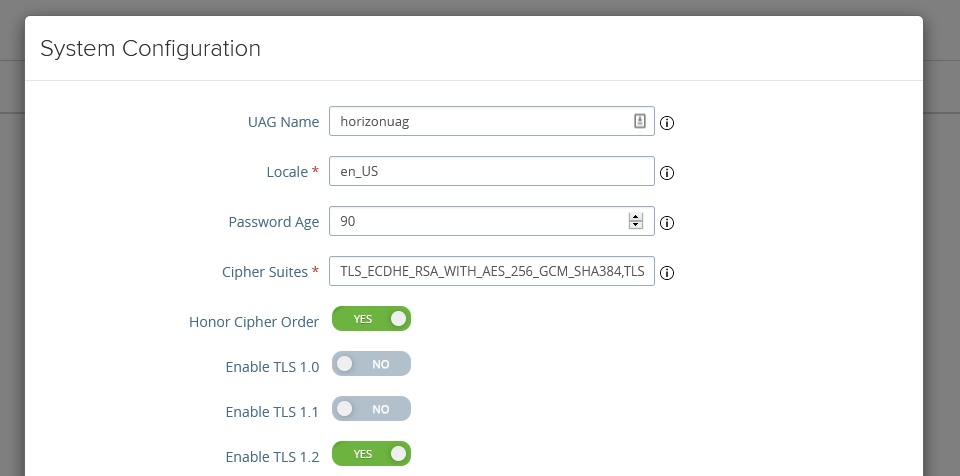
One final thing that I want to do is change the TLS and chiper settings: TLS_ECDHE_RSA_WITH_AES_256_GCM_SHA384,TLS_ECDHE_RSA_WITH_AES_128_GCM_SHA256,TLS_ECDHE_RSA_WITH_AES_256_CBC_SHA384,TLS_ECDHE_RSA_WITH_AES_128_CBC_SHA256,TLS_ECDHE_RSA_WITH_AES_256_CBC_SHA,TLS_ECDHE_RSA_WITH_AES_128_CBC_SHA should give you good security and good results. You can change this under the UAG Admin page, then under Advanced Settings followed by System Configuration.
Finally, I want to configure a trusted SSL certificate for the internet facing side. We can do this under “TLS Server Certificate Settings” under Advanced Settings in the UAG Admin panel. You will have to upload the private key file and the full chain certificate file along with choosing what interface to apply it to. In my case I selected Internet interface.
This covers this part of the Horizon 7.11 series. In the next part, we will be creating a Windows 10 Desktop image.
I hope that this was useful for you and see you in the next post.