Tanzu Kubernetes Grid on On-Prem or VMC on AWS – Management and workload deployment
Hi everyone,
In this post we will be making our own deployment VM to deploy Tanzu Kubernetes Grid on VMware Cloud on AWS. There is a demo appliance, but I would like to use the latest versions of everything. If you would like to know more about Tanzu Kubernetes Grid, please check out this link. This also works for on-prem, but the UI is different for NSX-T for the on-prem manager.
I’d like to give a special shout-out to the TKG Demo Appliance which can also be used and it includes demos and already has the programs. You can get it here and skip this section.
First we need a virtual machine to deploy it from. From my experience, deploying through a VPN does not work.
We start with an image. In my case, I like to use the Ubuntu Server cloudimage which you can get here.
Create a NSX-T segment in the VMware Cloud on AWS console for TKG. Also create a management group and rule so that the TKG segment can access the vCenter.
When you have it deployed, resize the VM. In my case I use 8 CPUs and 16GB of memory, but this is not something I really looked into. Once it’s on, login as the ubuntu user and execute this to become the root user:
sudo su -And then we get to installing.
We will need the tkg CLI, kubectl and docker. Visit https://vmware.com/go/get-tkg and download the TKG CLI for Linux, the Photon v3 Kubernetes v3 Kubernetes vx.xx.x OVA (get the latest version), Photon v3 capv haproxy vx.x.x OVA and VMware Tanzu Kubernetes Grid Extensions Manifest x.x
You can then SCP the .gz and .tar.gz files over to the VM, or upload them somewhere and then wget/curl them. The two OVAs should be uploaded to a Content Library that the VMC on AWS SDDC can access. Once you have done that, you deploy one VM from each OVA, and then convert this to a template.
To set up the deployment VM further, let’s install docker. We can do this with a one-liner:
curl https://get.docker.com | sudo shOnce this is installed, get kubectl:
curl -LO "https://storage.googleapis.com/kubernetes-release/release/$(curl -s https://storage.googleapis.com/kubernetes-release/release/stable.txt)/bin/linux/amd64/kubectl"Then we extract the files:
tar xvf filename.tar.gz
gunzip filename.gz
And we run:
mv kubectl /bin/
mv tkg-linux-amd64-rest_of_filename /bin/tkg
Now we are ready. Let’s fire up a second SSH session. On the first SSH session, we run the init with the UI:
tkg init --uiThis will run the installer UI on port 8080. In the second SSH session, be on a new line that you have not typed into yet. Then press ~ (shift ` in most cases) and then C. Then type:
-L 8080:localhost:8080This will open up port 8080 on your local system and forward it to port 8080 on the TKG VM.
Visit http://localhost:8080 and let’s get started.
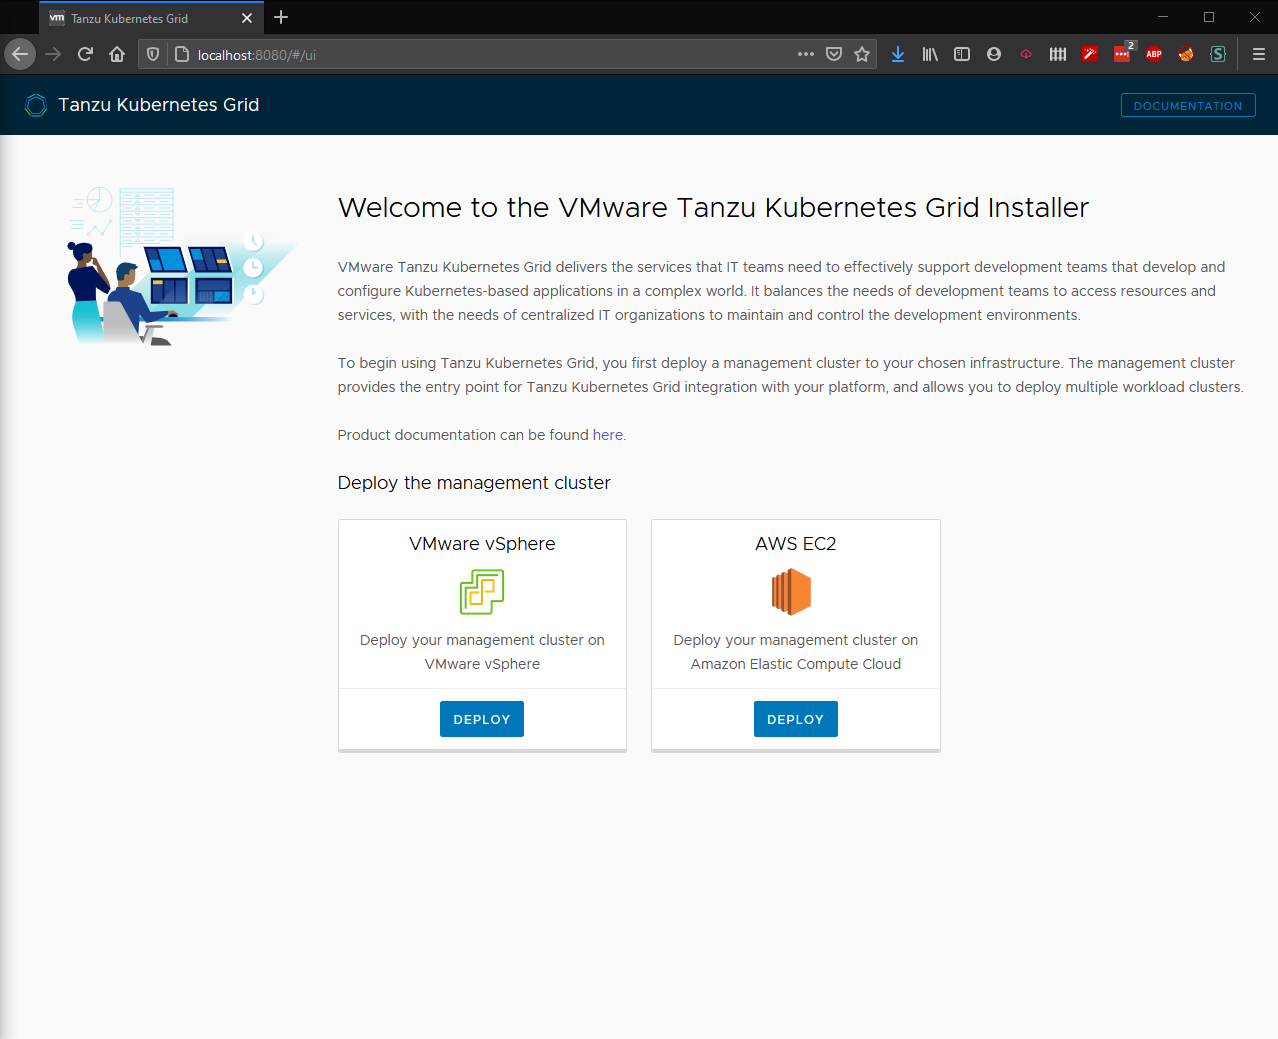
Click on deploy under VMware vSphere.
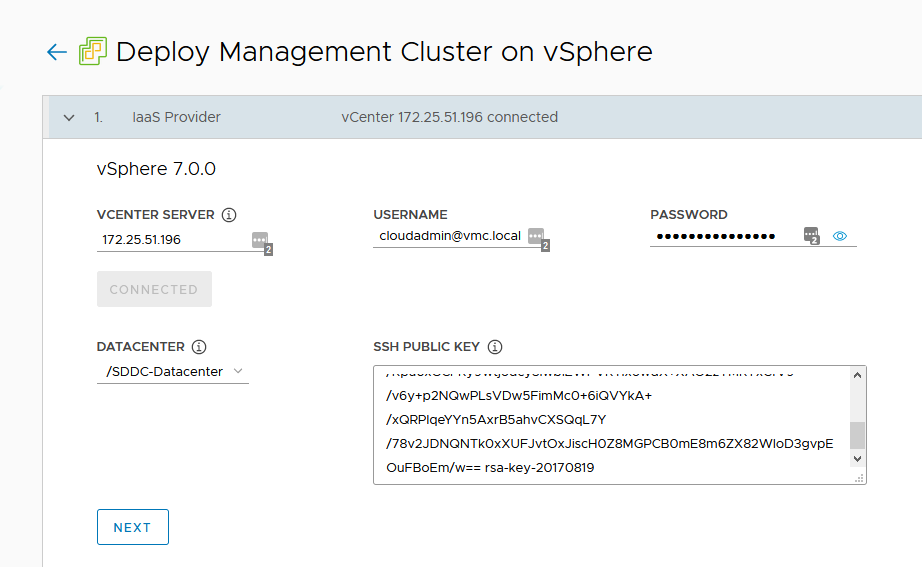
In my case, I fill in the local IP of the vCenter, with the cloudadmin@vmc.local user and the password. I press connect, then select a datacenter and fill in a public SSH key. (If you don’t have any, run ‘ ssh-keygen ‘ and then ‘ cat .ssh/id_rsa.pub ‘
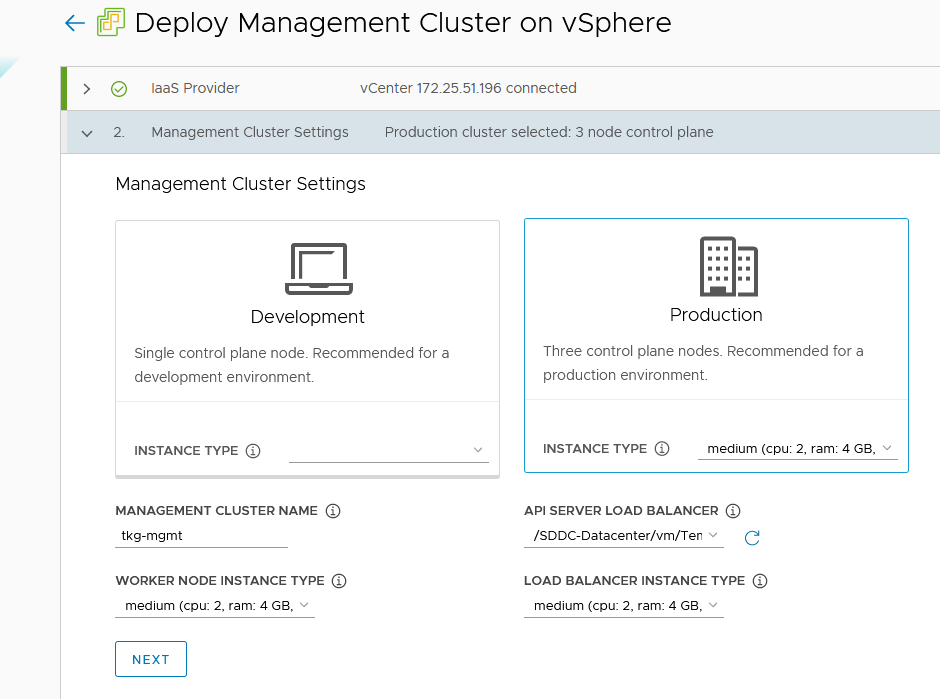
Click on next. Now we select if we want a single node development management cluster, of the production one with three management nodes. I select the production one for my case and select the appropriate size, which I will use medium for. Then you can fill in a management cluster name, and select the API server load balancer. You can also select the worker node instance type along with the load balancer and click on next.
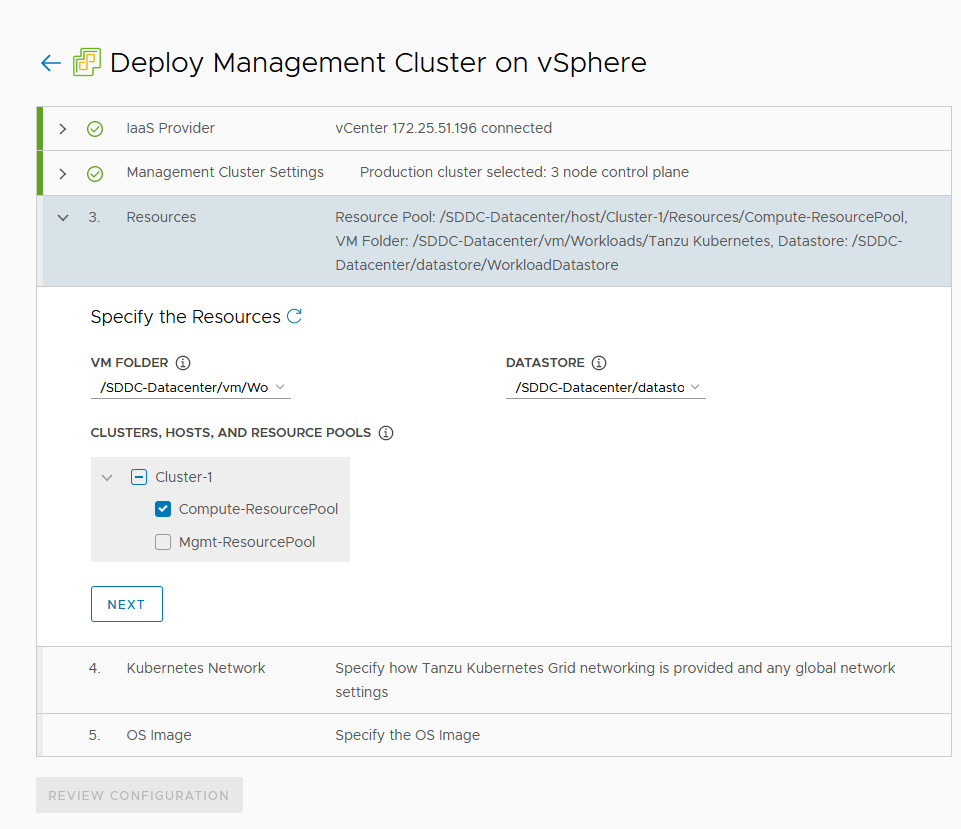
Now we select a VM Folder to put it into, select the WorkloadDatastore for the datastore and the Compute-ResourcePool or a resource pool under it. Click on next.
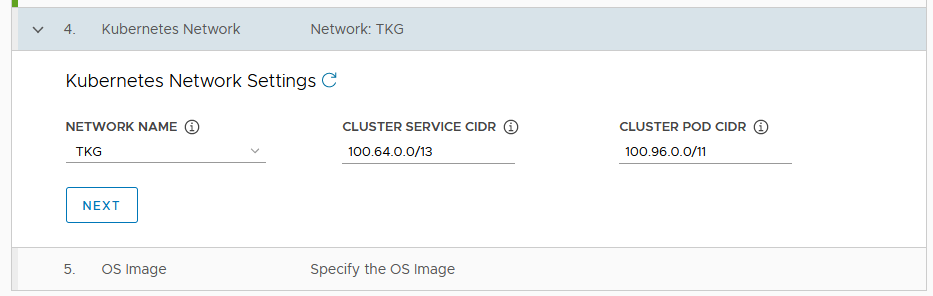
Select the TKG network and in my case I leave the CIDRs as default. Click on next.
Select the OS image and click on next.

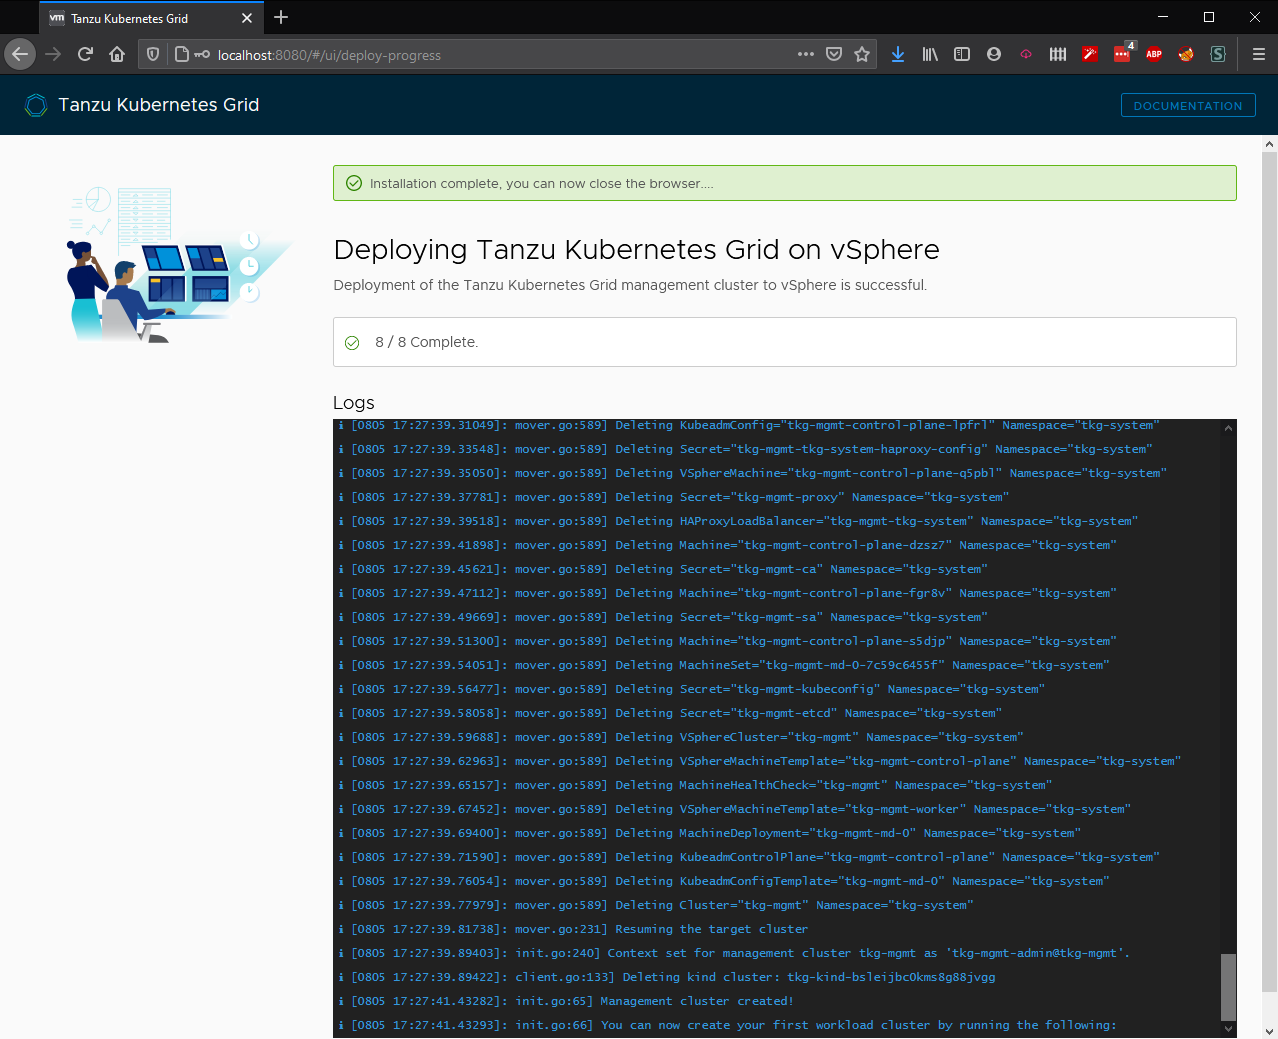
Click on review configuration and then on Deploy Management Cluster. Now we sit back and wait.
15 minutes later, and we are done for the management cluster!
Now we can deploy our first workload cluster. Go to the root shel where you run the init, and type:
tkg create cluster clustername --plan=prod/dev

# Example:
tkg create cluster tkg-workload-1 --plan=prod
Once that finishes, run:
tkg get credentials clustername

# Example:
tkg get credentials tkg-workload-1
And now you’re ready to start deploying applications. In the next posts, I’ll cover some demos and assigning an VMC on AWS Public IP to one of the kubernetes load balancers.
Thank you for reading, if you have any questions feel free to contact me.