VMC on AWS – HCX – Deployment
Hi everyone,
In this blog post, we will be going over how to deploy HCX on both your VMware on AWS SDDC and also on-prem.
So what exactly is HCX? One of the main features of HCX is stretching networks between on-prem and your VMC on AWS SDDC. (It does not have to specifically be to/from a VMC SDDC). Also you can migrate VMs, as a vMotion (live) migration, or as a bulk migration.
Written version:
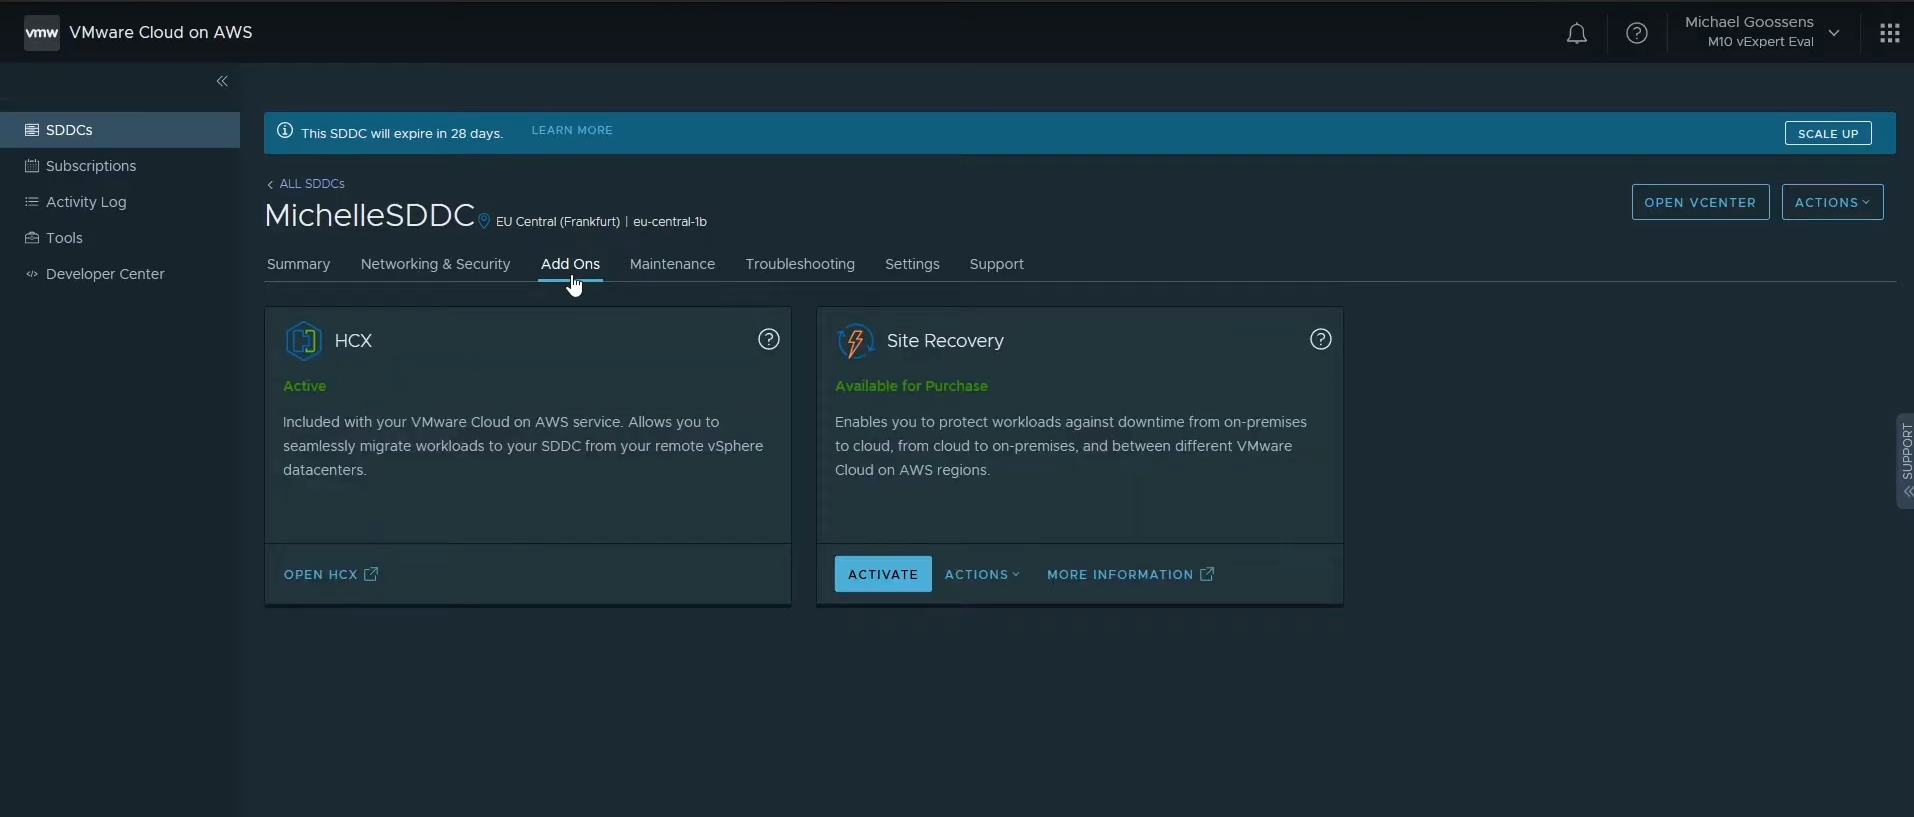
In order to use HCX, we first need to enable it. Go to your SDDC console. Click on add ons, and then activate HCX. This will take a while, so sit back while it activates.
Once it has activated, click on “Open HCX”.
Once you are in the HCX console, click on Activate HCX at the SDDC you wish to activate HCX for. This will take a while. HCX will be deployed for you.
Once HCX is activated, you will need to create some firewall rules. Go to your SDDC console and under Networking & Security go to Gateway Firewall. Under the Management Gateway, create a new rule. The source is the user-group of your on-prem network and the destination is the HCX system group. Publish this rule and you should now be able to access the HCX VM. Back to the HCX console, click on Open HCX and login with the cloudadmin@vmc.local account (or any other admin account).
Under Administration, click on System Updates. Then click on Request Download link.
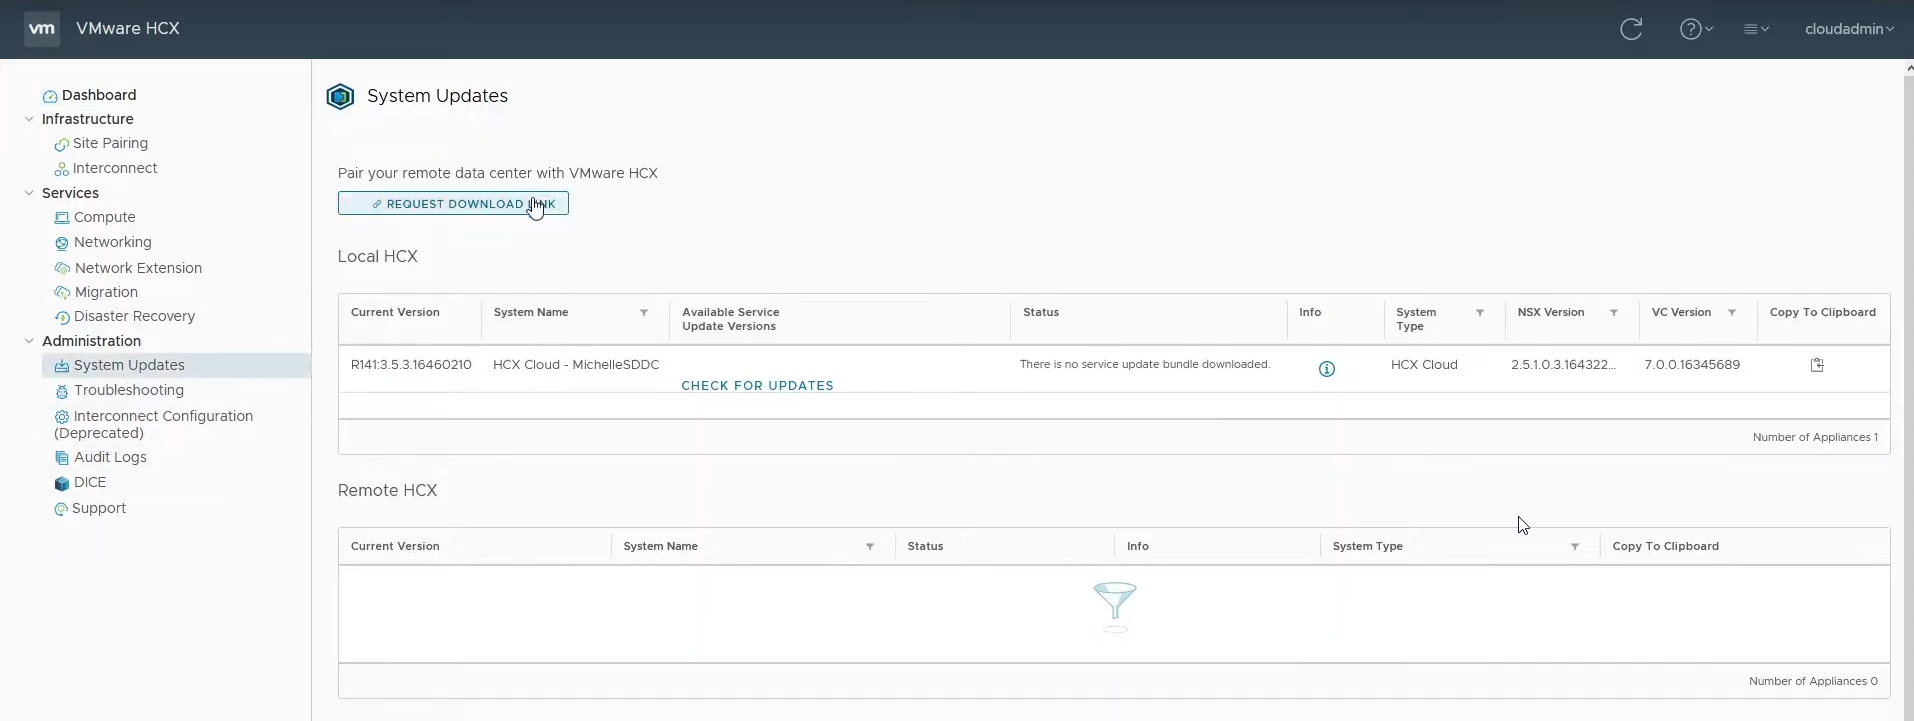
This will generate a download link for you that you can use to download the HCX Connector. You can either download it and upload the OVA, or copy the URL and paste it into vCenter.
Which brings us to our local vCenter. Deploy a OVA template in your cluster (or on a single host) and go through the process. Fill in the information like you always do. It will ask for things like a password, FQDN, IP, gateway, and the usual questions. Let it deploy, depending on your configuration this may take a little bit. Don’t forget to power it on after deployment and let it start up.
Once it has booted up, open up your web browser and visit:
https://hcxconnector-fqdn:9443/
Then login with the username admin and the password you set during OVA deployment.
Now we need to fill in our HCX License Key.
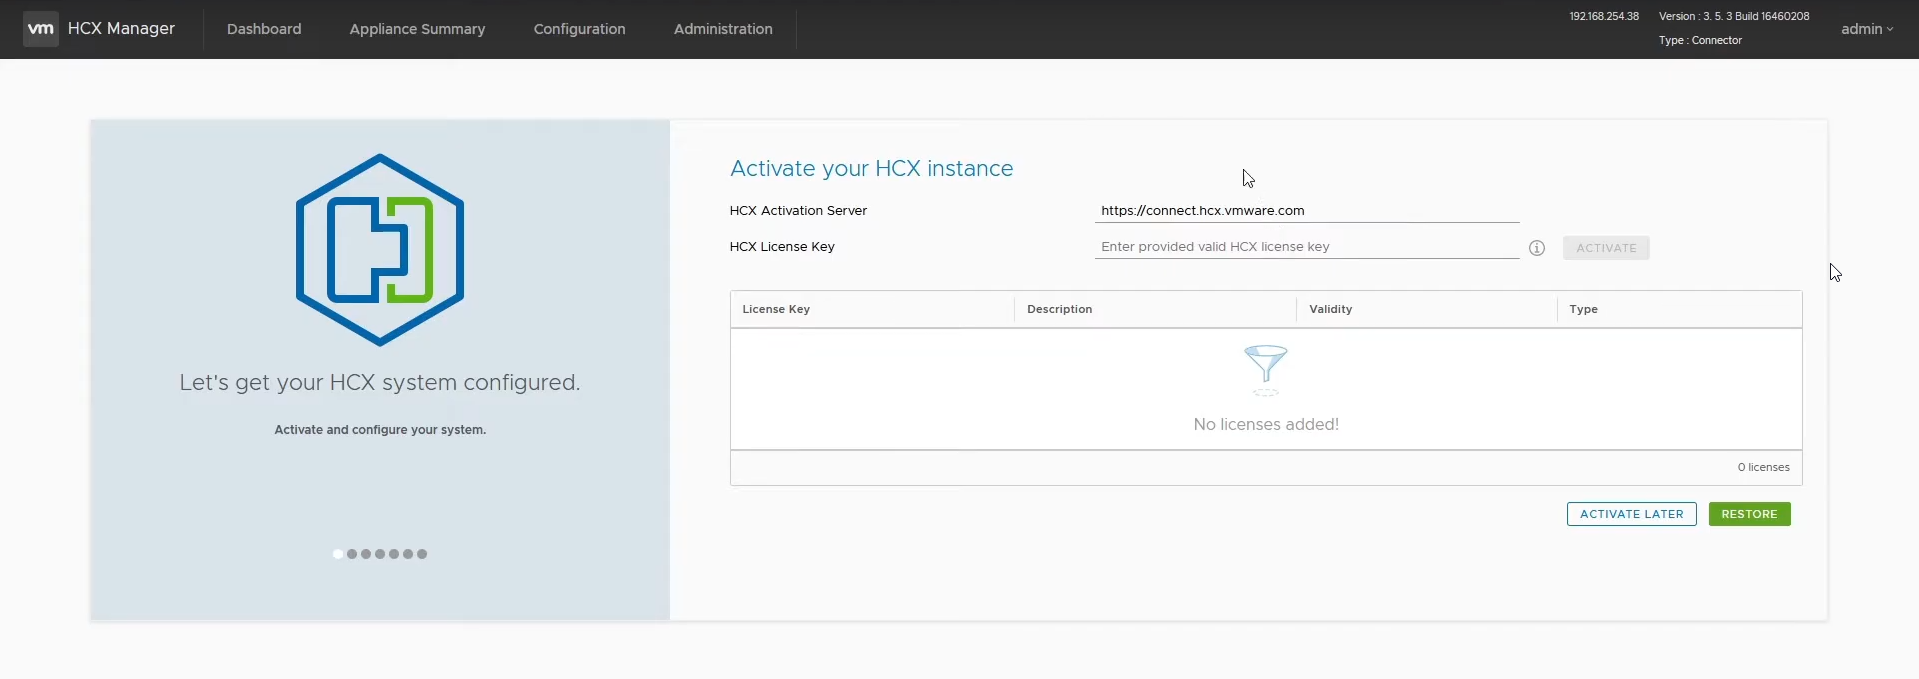
Go back to the VMC HCX Console and click on Activation Keys. Click on Create Activation Key. Then select your VMC on AWS subscription and then HCX Connector under System Type. Copy the generated key and paste that in the HCX License Key field on the HCX Connector, then click on Activate.
Fill in the location of your on-prem datacenter, then on the next screen fill in a system name. Click on Continue and now you will be given the option of entering your on-prem vCenter and optionally on-prem NSX.
For the identity source, fill in your vCenter’s FQDN if you have the embedded PSC deployment. (Which you should, and if not then migrate to it, since the external PSC is deprecated with vCenter 6.7 and higher. With vCenter 7, it’s not even an option anymore during deployment.)
Next you can click on next, and then click on Restart. This will restart the HCX Connector service and you are up and running after this.
In the next video and blog post, we will be doing a Site Pair and create an Interconnect.
If you have any questions, feel free to email me or tweet at me.
Have a great day and I hope to see you in the next one.